Pages

Showing posts with label layout. Show all posts

Thursday, January 14, 2016

Glory {Art 2016} Scripture Challenge #1, Limitless


Good day to you.
Today, i would like to share something slightly different from what I've shared previously, a scrapbook layout which inspired by Glory Art Scripture Challenge #1.
The theme for this month inspiration is Limitless, and after reading the blog post shared by Patter Cross, i really impressed with her definition of the LIMITLESS God we have.

For me, Christ's Love is limitless, His patience with me is limitless, His knowledge is limitless, and most of the time, we underestimate His mighty power, which is limitless too!
Previously, I always doubt about myself, i always think that i couldn't make beautiful stuffs like other artists, yet after reading the blog post, I really felt on my knee and pray.
I came to know that, I always underestimate the creativeness God have put in my heart, which is LIMITLESS all the time.
Every moment when i lack of ideas, God will provide a booster to boost up my inspiration.
From Pinterest to scenery or sending someone to help me, God never failed me once, not even once!
And i really thank God for the limitless creativeness He had put in my heart, below layout are something that speak to me with the word: LIMITLESS.


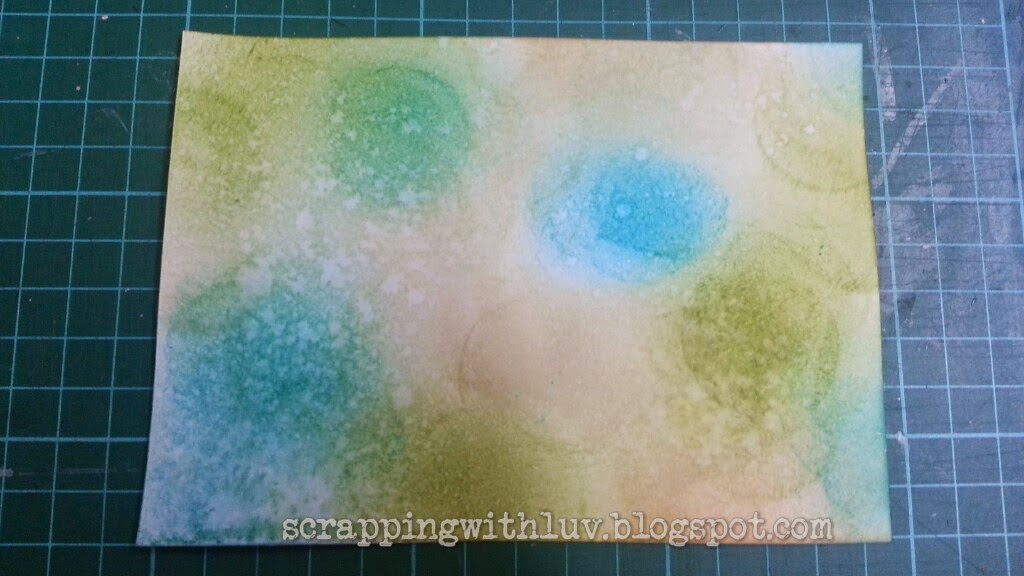
The stripe that i stick up as background, is representing the up and down in our life with different period throughout our life. 
Life can be up and down most of the time, and there are moments of darkness, moment of brightness.


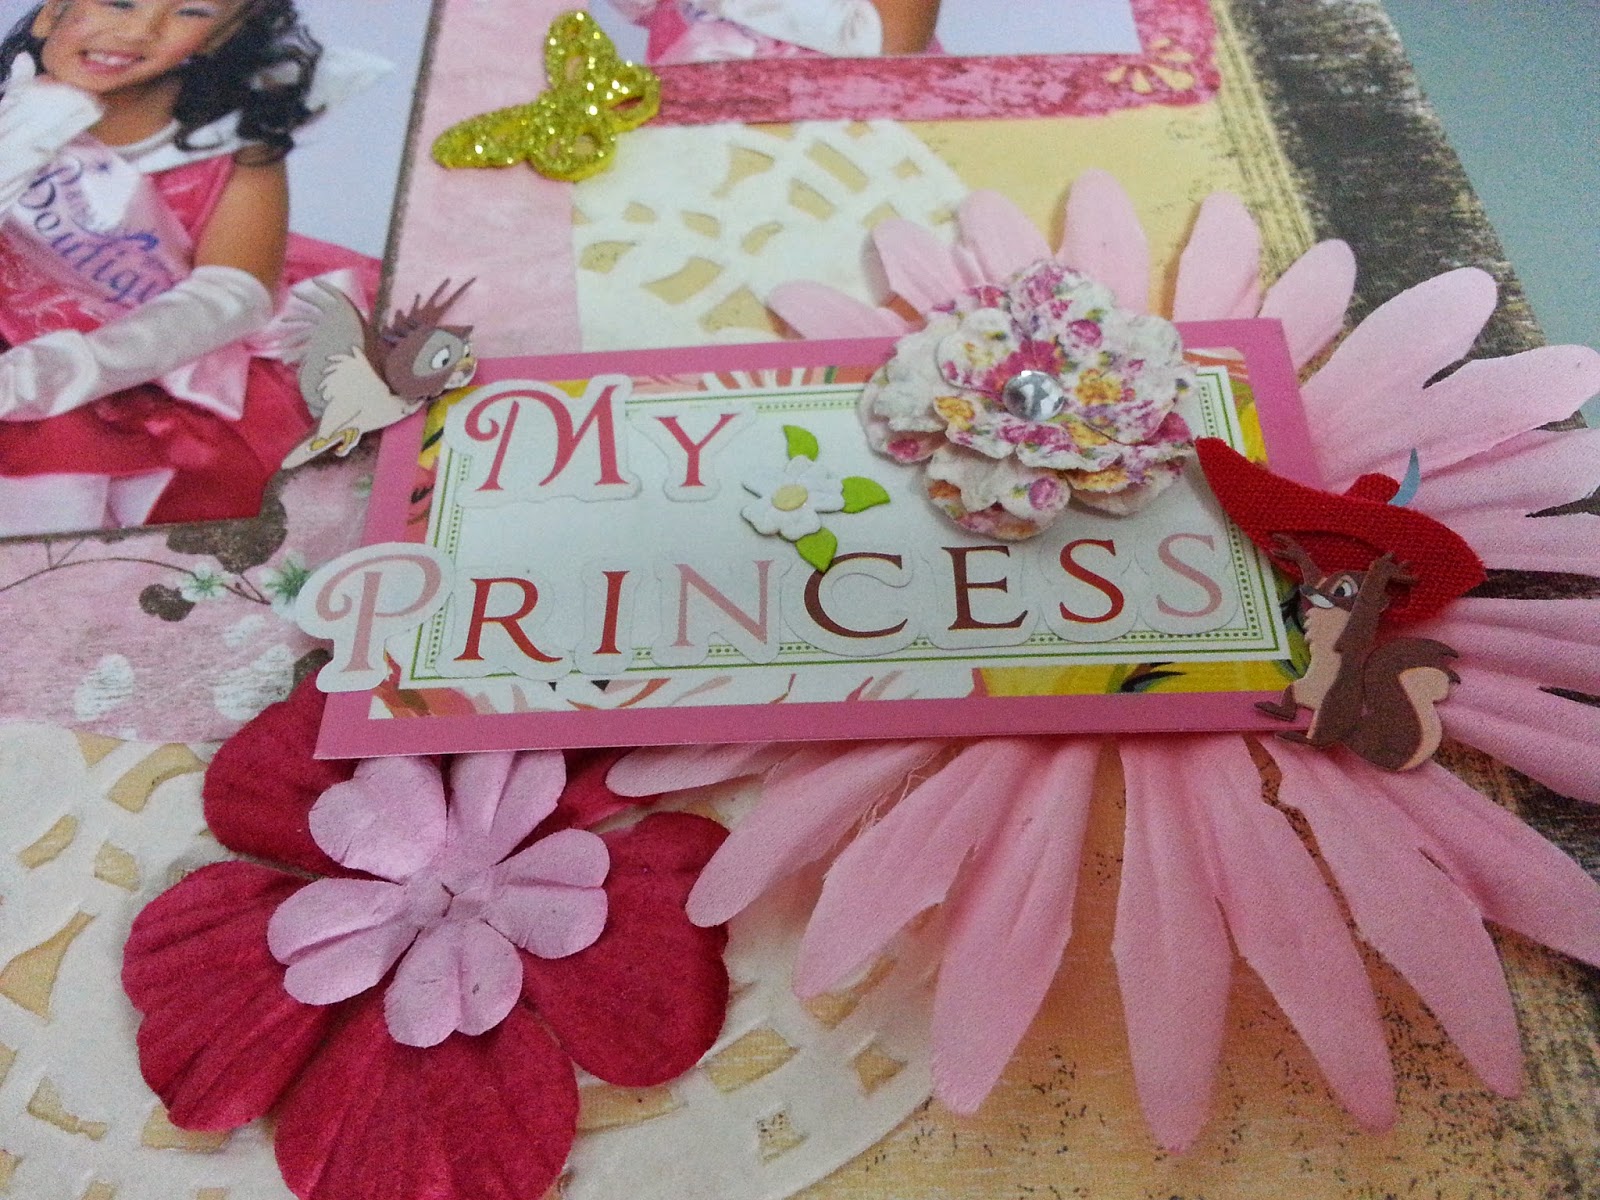
I choose to put up the empty frame, it represent that I used to think every problems we face is limited by what we think we know. 
From family to relationship and to working world, I always believe that whatever happened, what i can do is just within the frame, and i didn't realize that God have the limitless power to change the situation out of the frame.
This layout reminds me that I have to believe that God is the God of limitless, when problems come again, i need to trust HIM for His limitless power over the situation.


Love this Bible verse :  
Revelation 22:13 "I am the Alpha and the Omega, the First and the Last, the Beginning and the End."
The power of God, the love from God just limitless, and I truly blessed to be His child.


That's all for today sharing, hope you love my project too!

Saturday, March 28, 2015

Open Minded Crafting Fun Challenge #33: Food Related


It''s Open Minded Crafting Fun Challenge Saturday again and I am back with a scrapbook layout for today's challenge.

As you have aware, today's challenge is something related to FOOD, and i am obviously falling for coffee!
I'm a coffee lover and i need a cup of coffee everyday. 
The love for coffee makes me wanted to try all kinds of coffee in different cafe every weekend, yum yum....


For today art work, i'm using the Coffe Lovers Set Digital Stamp sponsor by Drawn With Character. I colored these images with color pencils, follow up adding embellishment from Elle's Studio, washi tape, using some color spray for the background and etc.


Closer look of the layout.


For this week challenge, we have sponsors listed below.
 If you are new to Open Minded Crafting Fun Challenge, we welcome you to join us for the chance to win these prizes.


Drawn With Character
Prize: 3 Images

 
 Imagine That! 
Prize: 3 Image Sets


 Zlatoena
Prize: 3 Images


Robyn's Fetish Digital Stamps
Prize: 3 Images

Wednesday, October 29, 2014

Growing in Unity - Day 3

Hi friends, welcome back for my GIU girls day 3 sharing!
If you have miss out my Day 1 & Day 2 sharing, kindly please click here and here and do remember to leave me a comment on each post for a chance to win 2 Itty Bitty Stamp. For your info, i will pick a lucky winner on Saturday from all the comments through out the 5 days.


This is the art work that i would like to share with your today.
One of the reason I LOVE Unity Stamp is because of the wide range of stamps they offered.
From cute images to vintage stamps, they have bundles of designs available for you to choose. 
Not forgetting that they have stamps for seasons, festivals, they also have stamps for your special event too!
One of the range that i love the most is they do have stamps for creating background pattern, which allows you to apply easily on your card and canvas projects.

For this card, the front image I'm using Hello Gorgeous from Itty Bitty, and the background stamp I'm using is Chicken Wire Background.
Below is the simple instruction how i create my background with this stamp.

 First, i blending 3 distress colors on a white card. If you would like to follow my sample, i'm using Peacock Feather, Antique Linen & Peeled Paint from Tim Holtz Distress Ink pad.

Then, i sprayed some mist on the card and blow dry it before i stamp the chicken wire background image randomly. 
Last, you can assemble your color card stock pieces, colored image as per your preference.


By using the same Chicken Wire Background stamp, i have another canvas project to share with your.
This is a special wedding gift for my friend and i seriously love the stamp so much as it create a fantastic background on canvas too.


Beside using the chicken wire background stamp i also using Vintage Handwritten to be part of the background image, both stamps can create a beautiful background for any artworks.

This is how the canvas look like, hope my friend like it.

Attached with the canvas, I've make another greeting card for them, both sentiments are from Tying The Knot kit. 

That's all for today sharing, if you love the projects that i share, kindly leave me a comment for a chance to win 2 Itty Bitty Stamps.
Do remember to come back tomorrow for my next project ya, have a nice day!

Sunday, October 19, 2014

Special present for a special someone

Hi friends, today i would like to share a birthday present that i've made for my friend back to end July. I know this sound slightly late, but sharing beautiful stuff never too late right?

For this card, i'm using Unity Stamp Claire Fashionista stamp. She is just gorgeous and i decided to gave her a very vibrant hair color, that is purple color! ( i always wish that i could have such bright and vibrant color on my hair. :) ) 
Since it's a birthday card, i've used the sentiment from Sabrina Fashionista, i do create cards using this kit before, kindly please click here and here if you would like to have a look.


Don't you think she is so beautiful?

 To make her look prettier, i add in some Gold color stickles on her hair bow, belt, handbag and on her dress as well!

Check out the shinning high heels, a must have item for all the ladies!


Beside the card, i do make a special mixed media canvas for the birthday girl.
She is a cheerful and happy go lucky person, and i really like the way she smile and laugh. She love travel and marathon, that is the purpose i choose these 2 photos to create this canvas for her.


The supply that used in the canvas are from: Heidi Swapp color shine spray: Citron & Primrose. The wood embellishment from Kaisecraft, paper flowers from Prima Marketing, and the die cut embellishment and alphabet are from local bookstore supply.

Hope you enjoy my post today, will share more projects later. 
Have a nice day!

Tuesday, June 17, 2014

Mixed Media Canvas - Present for 21st Birthday Girl

From previous post, your know that I love to do handmade item from friends birthday. Well, this round i decided to do a canvas as a present for my junior birthday, who are celebrating her 21st Birthday this year! 
Browsing through her photos, and i decided to do a layout with this photo, where all my lovely junior is in the photo. 

This is my 3rd time hands on Mixed Media Canvas, and with the advice from my scrappy friend - Angeline, I'm trying to used Tim Holtz Distress Paint for this canvas. 

To make you have a better idea, i just let you know what I've used for the layout. First, you need to have a 12" x 12" canvas (mine is canvas board), then get your favorite distress paint color (mine is Mustard Seed & Broken China). 

For the background, i'm using tissue papers, some pattern papers, lace and Burlap. Then you may want to have some embellishments like flowers, metal charms, stickers, ribbons, stencil with spray paints and etc.


This is the final layout, and after I've done, i really fall in love with it, it's all my hard work there!


In my layout, I'm using some Prima flowers and some metal charms from Prima as well. Notice the brown and yellow pattern behind the flowers? I'm using the spray paint with stencil to create the effect.


Then I'm adding the die cut Happy Birthday words on a burlap, adding with a metal key and butterfly. I do used the Classified Newsprint Stamp from Unity to enhance the background, then at used the yellow alphabet sticker to form her name.

 This is a close up for a corner. I add a die cut butterfly strip which i bought over from a bazaar, and it just look pretty good with the layout.


Here is another corner close up. 

I'm not really good in posting tutorial, but i think i can try one next time.
Thanks for stopping by.

Friday, June 13, 2014

First discover with Mixed Media Canvas (back in March 14)

Well, this is my first discover with Mixed Media Canvas with Nathalie Kbach back in March 14,and she just awesome and fun! You may check out her profile by clicking the link above.

To give a better understand of Mixed Media, i just go wiki and get the summary as below:
Mixed media, in visual art, refers to an artwork in the making of which more than one medium has been employed.
Mixed media tends to refer to a work of visual art that combines various traditionally distinct visual art media. For example, a work on canvas that combines paint, ink, and collage could properly be called a "mixed media" work.
When creating a painted or photographed work using mixed media it is important to choose the layers carefully and allow enough drying time between the layers to ensure the final work will have structural integrity. If many different media are used it is equally important to choose a sturdy foundation upon which the different layers are imposed.
Now, here is my first Mixed Media Canvas! I just list down what I've used to create this art work.


Below Canvas is my own project after the class, and the material i used is almost the same as above. The different is i'm using the normal Acrylic Paint instead of the Fluid High Flow Acrylic Paint. Notice that the color will be solid and the layer actually can't really see through compare with the previous artwork.

For the image, I'm using Let-love-fly Stamp from Unity, and this image touch my heart when i first saw from Unity page. Then i added some Prima Flower and the butterfly from Webster Pages.


For more ideas and understanding about mixed media, you may check these video from you tube:


Or this video:


I just love the Mixed Media Project, guess will have more project comes up, stay tune!

Monday, June 9, 2014

Disney Princess Layout

Recently I've helped a friend of mine to do a Disney Princess Scrapbook Layout as a gift. She do provide me some photos and Disney princess dress stickers, so i've choose a pink dress stickers in order to match the dress colour of the little girl in the photo.

Here are some photos and close up for reference.

This is the first complete layout.


I've add some Prima flowers which is pink colour too!


The Cute Pink Princess dress with the boot.


I do add some glitter butterfly as deco.


 This is the final layout which i've add some stone on the dress and on the butterfly. This is the first time I custom made for someone, and i really like the outcome of the layout.

Tuesday, April 29, 2014

Scrapbook pages and Layout

As I'm thinking what to post from all my art work, then i decided to post some scrapbook pages/ layout that I've done. I'm not really into layout art work, just a few pieces to show as below.


This is the first ever scrapbook layout that I've created. I'm using some papers and flowers that i have(which very limited) to create this layout. I still remember that it is where i just started my scrapping life few weeks only, and i decided to do my very first layout pages for me and my hubby wedding photo. :)


This is my second layout done for a friend of mine, who is getting married on 16 Sept 2013. I just get some layout idea from website and decided to do this as a wedding gift for her and her hubby, I've add the bird cage and some Prima Flowers on the layout.


This is my third layout done. This is not a 12 x 12 scrapbook pages, instead, this is a 6 x 5 canvas pages. I've get the idea from her: Gabrielle Pollacco, I just love all her projects and she is so amazing! This is the first time i'm hands on Gesso and stencil, and the feeling is awesome. 
For the background, i'm using a green color and yellow color mini stamp pad to create the color effect. Then, I used the sentiment from Unity Stamp, Everything love, the word just so pretty and match the picture.
In case you want to have a look, I've share her video as below for your reference.

Video Tutorial - 'Laugh' Step by Step


This is my latest layout for another friend of my whom just married in Mar 14. I just used a lot of Prima Flower and all the embellishment  from Prima is so pretty! I couldn't express by words how pretty it is for all the Prima items. I'm so bless that i manage to buy Prima's Warehouse Sales Box last Dec, and i'm actually hopping to buy it again by this year end. :)
 For the couple, i actually have done another card for them, picture as below... ;)

Wish them Happy Married and happy ever after!