Pages

Thursday, July 24, 2014

Card in a Box as birthday present

Oh yay, this is my first ever card in a box project. This is something new in the scrappy world, and the final product is so awesome! What i like about the card in a box is-- the outcome is like a 3D Pop up effect and it's so pretty when you display it on a shelf!

My first ever card in a box shown as below, and i do follow the measurement from Dina Kowal, you can check out the measurement from the link here.

I'm using some Prima Flowers, lace, paper doily, ribbon and some metal charms for decoration. 

Here is another angle.

A ribbon bow was tie when you lift up the front panel.

Front view.

Can see from top that inside the box is actually empty. 

The box can be fold flat and insert in a envelop as gift. But mine cannot as it flower is 3D flower, i can't fold flat for the card. :)
Thanks for stopping by.

Friday, July 4, 2014

First encounter with Shadow Box

Before i really hands on for the Shadow Box project, i really have no idea about what is Shadow Box. So i go online wiki the meaning of Shadow Box, here comes the description:

quote
A shadow box is an enclosed glass-front case containing an object or objects presented in a thematic grouping with artistic or personal significance. The grouping of the objects and the depth effect created by their relative heights from the backing creates a dramatic visual result. While shadow boxes have a strong tradition in military history, they are also frequently created purely for artistic goals.
unquote

And, i have my first encounter of Shadow Box with my scrappy master -- Angeline Choo, she is really great for teaching us how to make this shadow box!

This is the final outcome, did you see how gorgeous it is??


 We are using the Graphic 45 papers, Prima flowers and some metal and wood embellishment from Prima Marketing.


What i like about Graphic 45 papers is-- the design is so vintage, and you can simply cut out piece by piece for decoration.


The design looks like 3D when we assemble the embellishment layer by layer.


This is a great experience with Angeline about Shadow Box, hope to do it again!

Tuesday, June 24, 2014

When Decoupage meet Scappy

I always love to make things that is out of norm, so here i come to combine the scrappy art and decoupage together. What i like about decoupage is you can apply on any surface like wood, glass, steel, cloth & etc... and with base coat and protection coat, it will turn the item into pretty stuff.
For me, i prefer wood surface and do have few samples to show.

This wood hanger i found in a local shop which sell a lot of cute stuff. The sentiment is from Unity Stamp, Learn-live-hope stamp.


This is memo holder and i add some blink stone around the cup cake.


This is another wood hanger. I'm using Donna Poppies from Donna Downey and Lasting Thoughts kit from Unity Stamp. Trust me, the Poppies flower is very huge and it's really good for canvas projects. I've add some butterfly to make it more 3D.


I order this Welcome hanger from Taiwan, and i have a strong feeling that this hanger is suitable to put in house, thus i decided to do it for house deco. The stamp is from Better Together kom 7/11, then i colored it with my FINE Color marker pen. For the background, i'm using yellow and green spray paint.


This butterfly hanger also order from Taiwan, and i've try with my stencil from The Crafters Workshop with the color spray paint, and the results is amazing! 

That's all for my post today, will upload more when i've done my art works.

Tuesday, June 17, 2014

Mixed Media Canvas - Present for 21st Birthday Girl

From previous post, your know that I love to do handmade item from friends birthday. Well, this round i decided to do a canvas as a present for my junior birthday, who are celebrating her 21st Birthday this year! 
Browsing through her photos, and i decided to do a layout with this photo, where all my lovely junior is in the photo. 

This is my 3rd time hands on Mixed Media Canvas, and with the advice from my scrappy friend - Angeline, I'm trying to used Tim Holtz Distress Paint for this canvas. 

To make you have a better idea, i just let you know what I've used for the layout. First, you need to have a 12" x 12" canvas (mine is canvas board), then get your favorite distress paint color (mine is Mustard Seed & Broken China). 

For the background, i'm using tissue papers, some pattern papers, lace and Burlap. Then you may want to have some embellishments like flowers, metal charms, stickers, ribbons, stencil with spray paints and etc.


This is the final layout, and after I've done, i really fall in love with it, it's all my hard work there!


In my layout, I'm using some Prima flowers and some metal charms from Prima as well. Notice the brown and yellow pattern behind the flowers? I'm using the spray paint with stencil to create the effect.


Then I'm adding the die cut Happy Birthday words on a burlap, adding with a metal key and butterfly. I do used the Classified Newsprint Stamp from Unity to enhance the background, then at used the yellow alphabet sticker to form her name.

 This is a close up for a corner. I add a die cut butterfly strip which i bought over from a bazaar, and it just look pretty good with the layout.


Here is another corner close up. 

I'm not really good in posting tutorial, but i think i can try one next time.
Thanks for stopping by.

Friday, June 13, 2014

First discover with Mixed Media Canvas (back in March 14)

Well, this is my first discover with Mixed Media Canvas with Nathalie Kbach back in March 14,and she just awesome and fun! You may check out her profile by clicking the link above.

To give a better understand of Mixed Media, i just go wiki and get the summary as below:
Mixed media, in visual art, refers to an artwork in the making of which more than one medium has been employed.
Mixed media tends to refer to a work of visual art that combines various traditionally distinct visual art media. For example, a work on canvas that combines paint, ink, and collage could properly be called a "mixed media" work.
When creating a painted or photographed work using mixed media it is important to choose the layers carefully and allow enough drying time between the layers to ensure the final work will have structural integrity. If many different media are used it is equally important to choose a sturdy foundation upon which the different layers are imposed.
Now, here is my first Mixed Media Canvas! I just list down what I've used to create this art work.


Below Canvas is my own project after the class, and the material i used is almost the same as above. The different is i'm using the normal Acrylic Paint instead of the Fluid High Flow Acrylic Paint. Notice that the color will be solid and the layer actually can't really see through compare with the previous artwork.

For the image, I'm using Let-love-fly Stamp from Unity, and this image touch my heart when i first saw from Unity page. Then i added some Prima Flower and the butterfly from Webster Pages.


For more ideas and understanding about mixed media, you may check these video from you tube:


Or this video:


I just love the Mixed Media Project, guess will have more project comes up, stay tune!

Thursday, June 12, 2014

Cards for Wedding, Birthday and Congratulation!


I always love to make card for all occasions. Here is some cards that I've make for different occasions and it's full with blessing and cares!


This is the wedding card together with the envelope. 
I'm using the free emboss folder from a magazine, and adding some Distress Ink at the border to make the card look vintage. Notice the envelope behind? I've add a Doily on the envelope to make it special. :)


For the center, I've add a "Celebrate" sticker together with some Prima Flowers.


To make is lively, I just add 2 butterfly as decoration, and the card is finish!


This is another order to make card for a junior of mine, who wants to celebrate the birthday of the Youth group Leader. Hey, Happy Birthday uncle Stephen!


This is a congratulation card for a another junior of mine, whom manage to get the highest achievement awards in the Girls' Brigade - the PIONEER PIN which is so difficult to get it.
With such an honor, i made this card to congrats her for this joyful moment!  

I always love to make cards with blessing and love, hope these cards can inspired you to make your own card today!

Monday, June 9, 2014

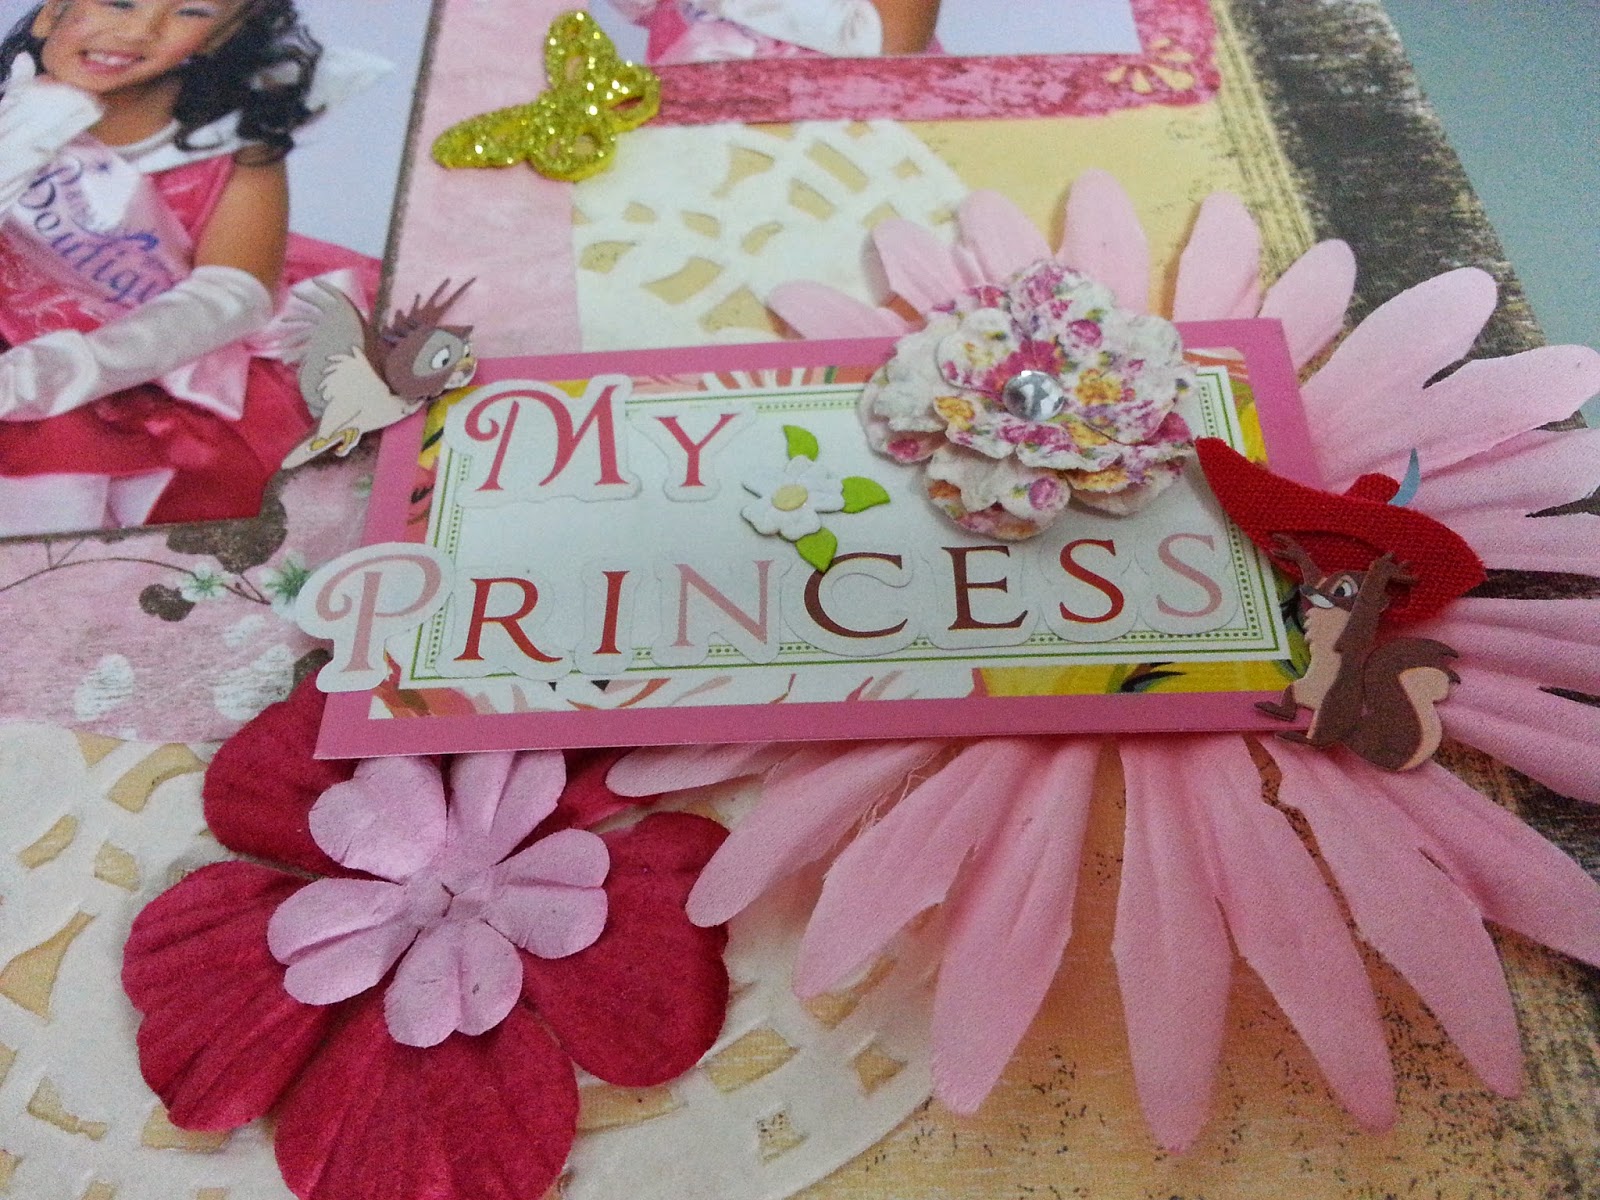
Disney Princess Layout

Recently I've helped a friend of mine to do a Disney Princess Scrapbook Layout as a gift. She do provide me some photos and Disney princess dress stickers, so i've choose a pink dress stickers in order to match the dress colour of the little girl in the photo.

Here are some photos and close up for reference.

This is the first complete layout.


I've add some Prima flowers which is pink colour too!


The Cute Pink Princess dress with the boot.


I do add some glitter butterfly as deco.


 This is the final layout which i've add some stone on the dress and on the butterfly. This is the first time I custom made for someone, and i really like the outcome of the layout.

Tuesday, May 20, 2014

Card Series 2

Below cards is my latest artworks for a junior of mine, whom wanted to raise fund for her college club. Well, beside the friendship band they make it themselves, i decided to make some cards for her, let her sell at a bazaar stall.

In order to make sure the cost is low, i have to be careful with the embellishment that i used to decorates the card. So i decided to used some stamps i get from Unity Stamp and Hero Arts, and a Happy Birthday dies which i got it FREE from a Magazine. Here is the card. 
I did add some glossy accent on the cup cake, so that the flower looks juicy and shining. Just before i forget, i'm coloring my images with FINE COLOR marker from China. It's similar with Copic Markers, but the price is much more cheaper than Copics! Loves it!


 Here is another card i make with the same concept, but I'm adding some washi tape, flower and add some Stickles on the cupcake so that is looks shining.


Then, i goes on with other designs as I'm the type of person don't like to create a card with one design only. So i have create another card as below. The sentiment and cherry added with the double sided form, so that it creates the feeling of 3D.
As for the border for each square, I've apply some distress ink from Tim Holtz, so that it have the vintage feeling. :)


I found some paper pad which i've bought long time ago, and decided to used one of it to create this Black and White Birthday card. With some colorful flowers, the B&W idea shown up. As for the butterfly, I'm using the butterfly punch from Monarch Butterfly Embossing Punch by Martha Steward Create. It just awesome!


 Here is another card using the cupcakes concept. I've used one of my border puncher to make it look different!


Then, i decided to make few cards for difference occasion. This LOVE card can be a valentine card, can be a wedding card, or you may want to used it as mother's day as well. I'm using the Cuttle Bugs polka dot emboss folder to create the emboss effect. Then by adding a ribbon and sticker, the card is done!


As Mother's Day is approaching, I've made this card for mothers as well, adding some flower and twine, the cards looks different. Notice the purple color check box background? It's done with the new tool i bought recently, it's Distress Spritzer by Tim Holtz. This tool can goes with Distress Marker, Copics Markers, any marker pen that you have in hand, even the Sharpie marker also will do! Amaizing!


Oh, below card is one of my favorite card. Look at the pretty lady, she is Sabrina, the fashionista from Unity Stamp. She just so gorgeous that the moment i get her from Unity Stamp, i know that RED color will suit her the most, don't you agreed with me?


Then i have this cute little girl from Penny Black, she is catching my eye when i travel to Hong Kong, then i decided to bring her back home the moment i met her.


 Then i have this cute little baby card, using the Hello little one kit from Unity Stamp. Don't you think it's so cute? :)


Here is another Birthday card using the free digital images, i color it with the FINE Color Markers.


This is a cute little pink card i make for a young little girl at 5 years old. She loves pink colour, and she love something blink, then i decided make her this cute little pink birthday card.


 Then, i have Monique in the house. She is another fashionista from Unity Stamp, she just make me feel the elegant bride on the road!


 Here is a congratulation of new born baby card too!


OK, i have to stop here, see you next post!


Monday, May 19, 2014

Card Series 1


 I admitted that i', not a good blogger. I've drag from my last post since end of April until now, with the problem for my laptop, this cause me dragged even further. To cut the story short, i think i should post the photos as quickly as possible.
 
 This card is make for my colleague's husband, with the new spray i bought in SnC , and the stamp i'm using is from Unity Stamp - Better together Kit of the month 7/2011. It's rather simple, and to make it special, i'm apply some glossy accents at the ice cream portion, make it look glossy and juicy! :)


 The second card is kind of testing and "copying" from the sample from the PaperCraft Inspiration magazine. With the free decoupage colour papers and images, i just follow the samples from the magazine and create this card. The layers for the card just so gorgeous!


 The next card is more for testing on new colouring technique, which is the Pastel color mode. It's rather easy and amazing, and the stamp i'm using is from Unity Stamp of course.


Here is another card using the same kit - Insightful-meadows from Unity Stamp, both card i'm trying to make the shadow effect for the image, but i guess i need to try on with different technique. This card is using emboss powder and the versa mark shadow ink pad.


Below card is a birthday card i do for my colleague birthday, with Prima Flowers, the card can be so easy and beautiful.


The next card is for a  friend of mine, who celebrating his 2nd baby full month party. The stamp is called - New set of Wheels  from Unity Stamp as well. So Cute!